This is one of my all-time favorite Bonnet Classes and Patterns!!
I was given the original Baby Bonnet by a generous friend several years ago.
My friend was given this bonnet by Miss Buford, who was still living at the time.
Her information about the origin of the bonnet was that it was made for her by a family member, perhaps an aunt. And she recollects that she and her Bonnet were over 100 years old.
Many of my designs are inspired by old baby garments.
This is one of the few that I tried to reproduce the style exactly.
I taught it for SAGA at one of the Nationals.
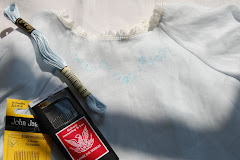
The fabric is fine Linen.
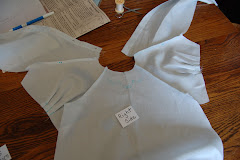
The Bonnet buttons down the back with tiny slip size buttons.
It has a casing to thread ribbon through and pull up to form the bonnet shape. A bonnet that pulls up in the back also makes it somewhat adjustable for size. A good thing!
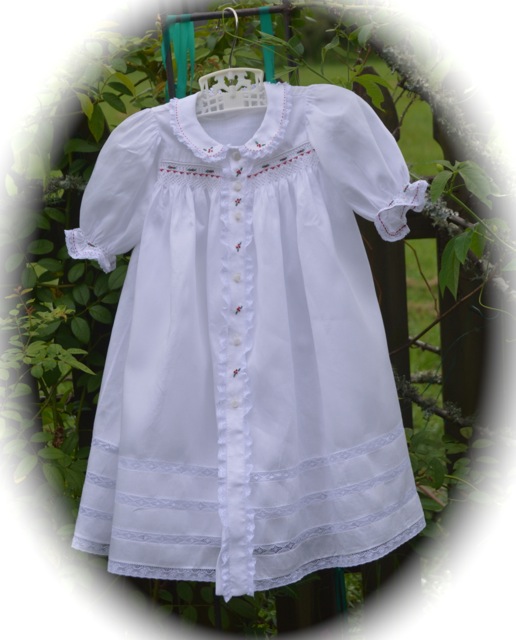
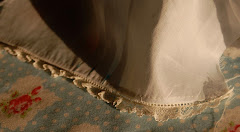
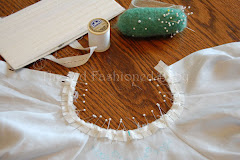
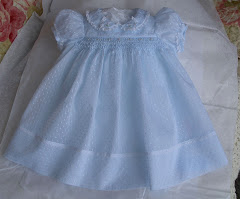
In this photo you can see the bonnet is completely made but the buttons are not fastened and the ribbon not pulled up. It makes it easy to iron!
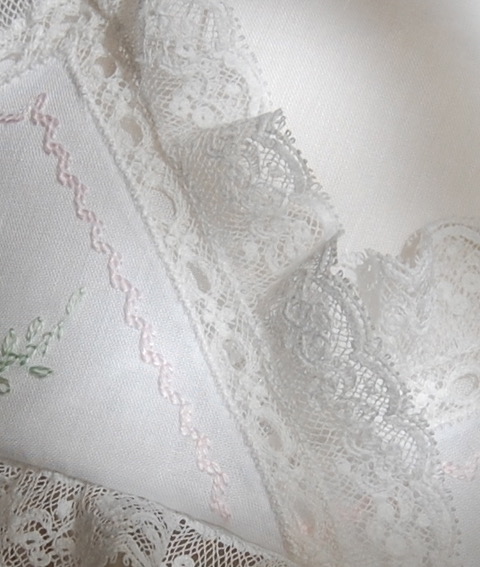
The lovely feature of Miss Bufords Bonnet is the Hemstitched Tucks and Embroidery. The pretty Maline Lace edging just makes it even more beautiful to me.
There are so many things to love about this bonnet!!
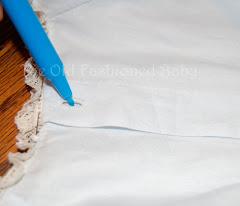
Close up of the Half Hemstitching and the embroidery. The leaves are Satin Stitched, the stems are the Trailing Stitch and the flowers are tiny Eyelets.
Here is a photo of the original bonnet. It was damaged but still beautiful.
The embroidery is perfect.
It is completely constructed and embellished by hand.
Happy Stitching, J
All Designs Are Copyright Protected
copyright 2023Jeannie Baumeister


.jpg)